Friday, December 27, 2013

SOUS Die Cut Challenge: Snowflake

Stuck On U Sketches

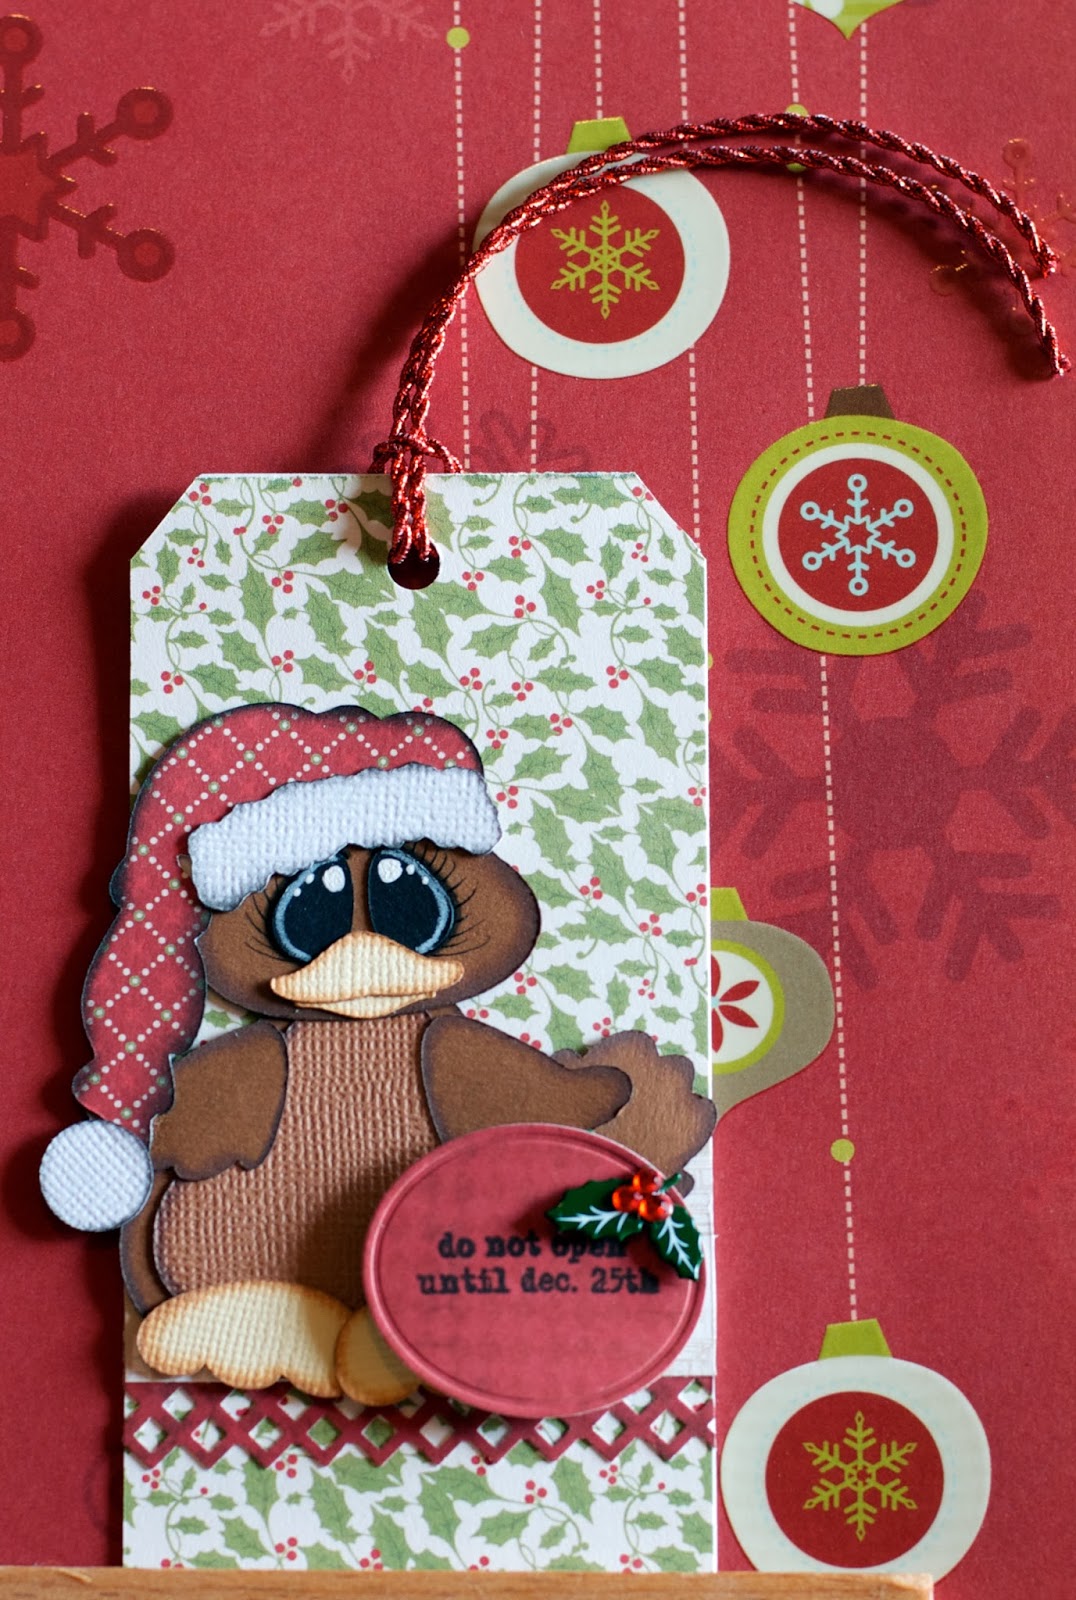
Hello Peeps! Welcome to my blog! Today I would like to share with you SOUS die cut challenge - the snowflake!! We can make any project we like, just have to use a die cut snowflake on it.

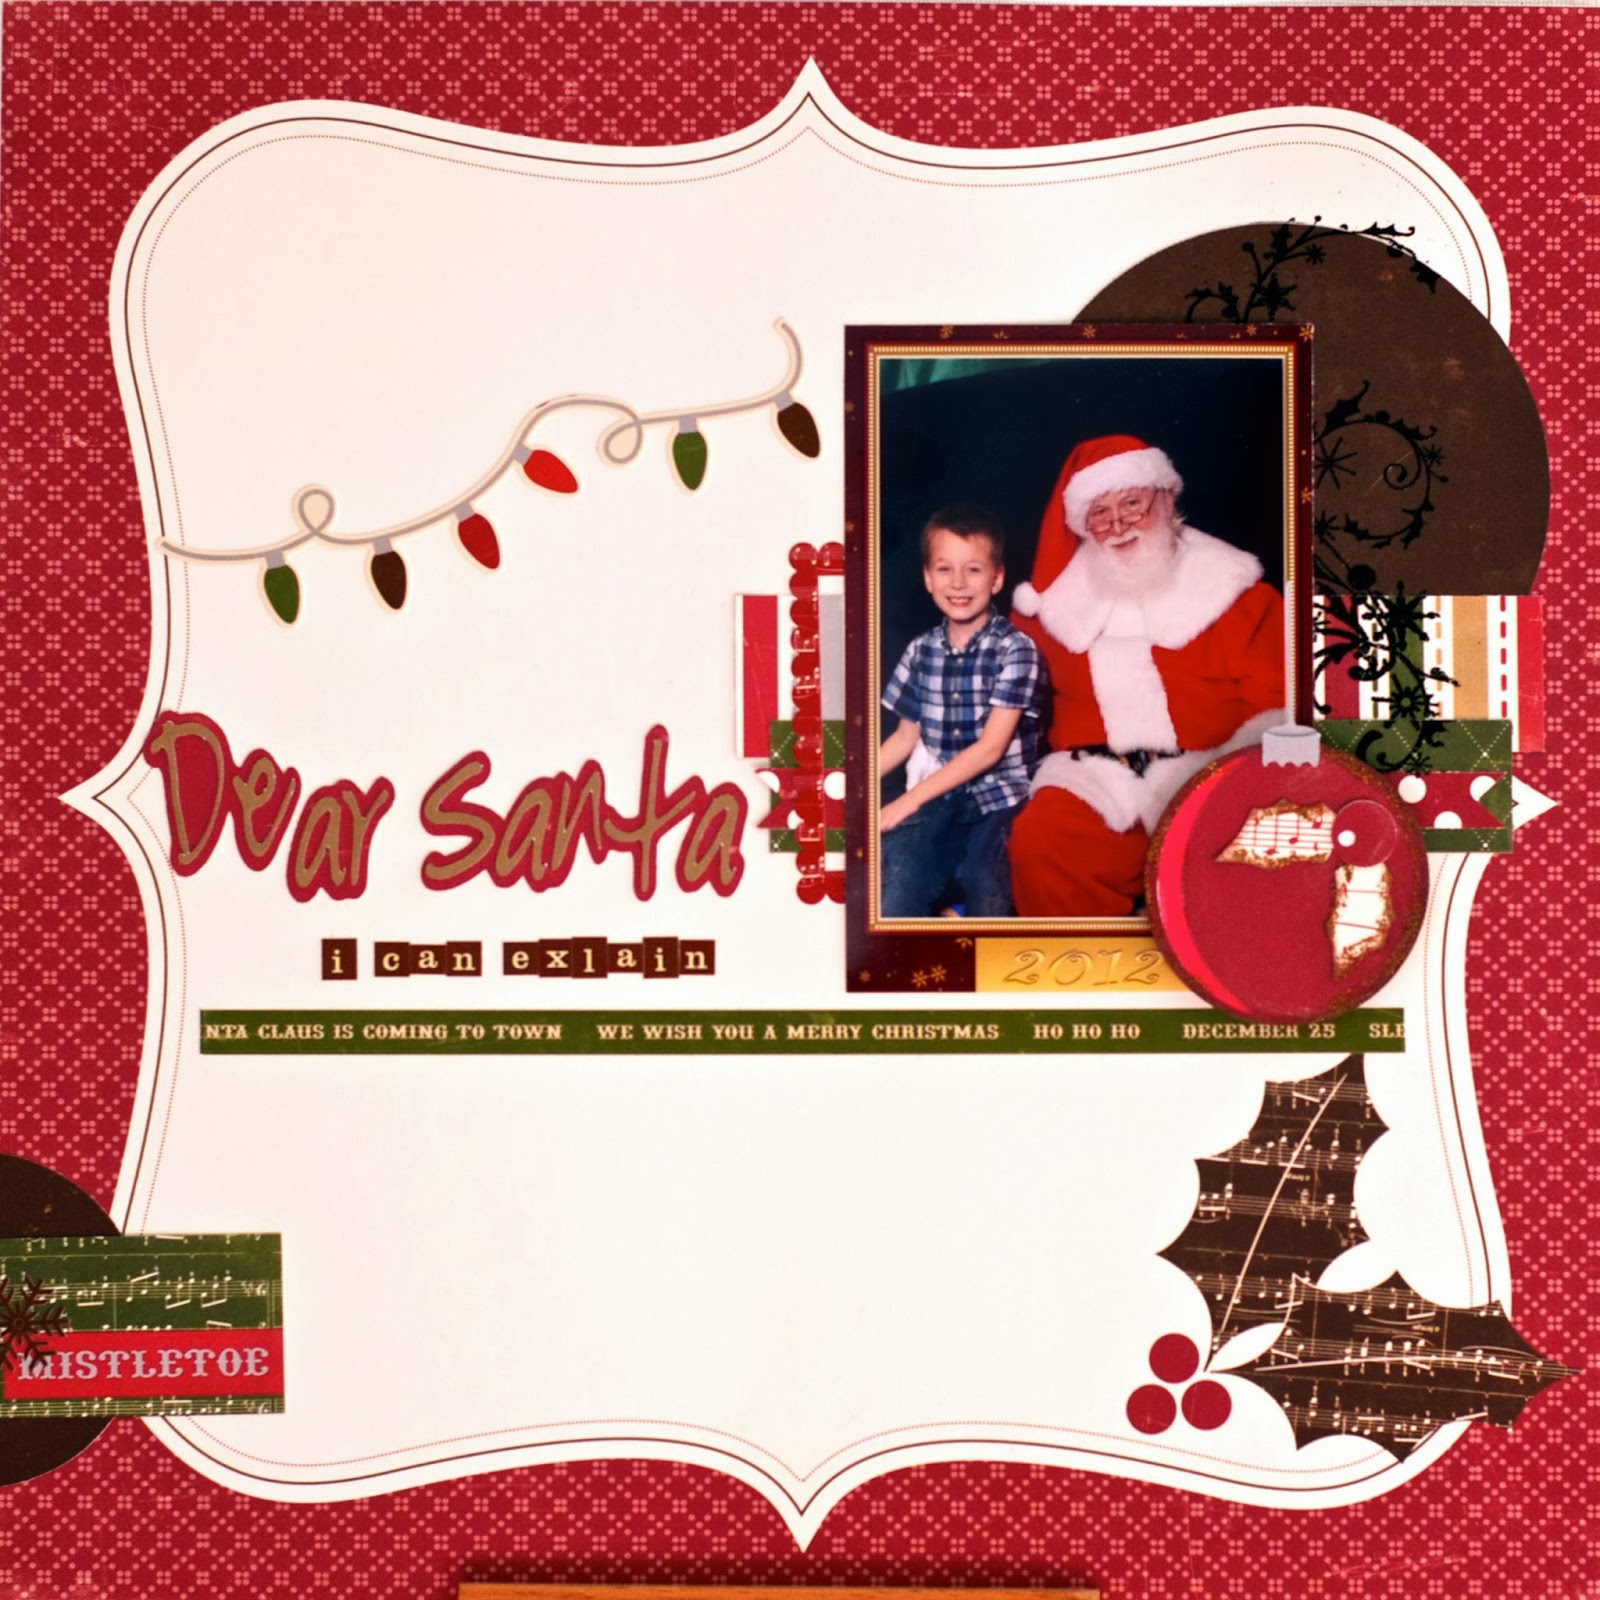
Well, here's mine! The entire card is a die cut made from a SVGCUTS file.  Their cards are fun and easy to make!!

The funny thing about this card is that it is all made from paper my sister gave up to me a few years ago. Every now and then I find a great use for it!

I hope I have inspired you in some way. Hop on over to SOUS, if you haven't done so already, for more inspiration from our fabulous die cut team!! We also want to see your snowflake projects as well!!


Supplies:
BG - Eskimo Kisses PP
Embossing folders (3 different ones)
Pearl
My Craft Spot stamp

Tuesday, December 24, 2013

JOYS OF CHRISTMAS

Merry Christmas!

If you stopped by a couple days ago, you already know that I worked on die cut cards from www.svgcuts.com using their Merry & Bright collection.

So . . .

May all the JOYS of Christmas be yours!

Thanks for stopping by today!


Supplies:

American Craft PP Merrymint and Christmas line
Merry & Bright "svg" Collection from www.svgcuts.com
Wood Stamp - probably from HL
Bling
Stickles Gold, Silver and Christmas Red
Small Swiss Dots embossing folder

Sunday, December 22, 2013

NOEL


It's almost Christmas!! Are you excited yet? I know I am! I recently spent a relaxing Saturday playing with paper and making cards. I scrolled thru my stash of "svg" files and came across the Merry & Bright Collection by www.svgcuts.com

Except for the paper, I followed the site pretty closely in the making of this card. I just love how the poinsettia turned out, don't you!?

In a couple days I'll be showing you another card from that very same collection. I'm even more thrilled with that one so come back soon!!

Thanks for stopping by today!


Supplies:
"Noel" stamp - there are many out there.
American Crafts Merry Mint and Christmas line PP
Ribbon from HL
Bling
Entire card cut out with SCAL
File by: www.svgcuts.com

Friday, December 20, 2013

wrapped with LOVE!


My sister LOVES gingerbread men!!

For this year, we decided to make something for each other instead of buying gifts for one another.  So,  I made her tags to put on gifts. LOL!!

The stamps are from My Craft Spot. The PP are from various 6x6 christmas paper.

P.S. I found tags difficult to photograph. Just couldn't figure out how to make them look right.

Thanks for stopping by today!!


Treasure Box Designs Bobble Head Gingerbread man.


This gingerbread is a die cut from My Scrap Chick.
I did end up making the eyes much larger.

Wednesday, December 18, 2013

DON'T BE LATE!!

This year my sister and I decided to make gifts for each other instead of buying gifts. So, I made her gift tags! LOL (ah the irony)

The bears are Treasure Box Designs die cuts. I actually made these bears last year. I really LOVE making die cuts almost more than using them on a project.

The stamps are from My Craft Spot.

Thanks for stopping by today!!


Monday, December 16, 2013

Follow the Day . . .

. . . and Reach for the Sun!

Hello! Today I am showing you my fourth page featuring our exchange student, Tobias. Once I settled down and decided on the sketch and PP, this LO came together incredibly fast!

The photo of our student was taken September 7th, only a month after Tobias joined our family. This was our first "outing" taking pictures together.  It turns out he and I have a mutual love of photography with very different shooting styles.

I followed this sketch off of Pinterest. The title is the name of a song I love by Polyphonic Spree.

I used Bo Bunny paper mostly from the Weekend Market line.

On a side note, I think I'm going to really enjoy making "teenage boy" layouts. They are challenging and I get to bring out my more grungy style in scrapbooking which took a back burner the last couple years. Of course, I'm not giving up die cuts anytime soon but this LO was definitely fun to make.

Thanks for stopping by today!


Supplies:
Bo Bunny: Weekend Market
Bo Bunny: Et Cetera
Wood Embellishments from Creative Embellishments
SCAL - title
Black Twine
Stencil Designs
Stitching

Friday, December 13, 2013

SOUS: Die Cut Challenge - Ornament

Dear Santa: I can explain

I am thrilled to return to SOUS die cut team. Since I LOVE making die cuts this team fits me like a glove! The team is filled with a LOT of wonderful talent so hop on over there and see what are die cut team has for you this week.

For my first challenge with the team, we are to make and use a die cut ornament on our project. Well, if you are into Christmas and its decorations AT ALL this one is easy!

I followed this sketch from Pinterest.

I do want to apologize that the photos of my lay out aren't all that great. I was too lazy to retake them.

Thanks for stopping by today!


Ornament from MissKateCuttables

The title is cut from SCAL. I've wanted to use this title for years!
Just love the little kid "feel" of it!

Supplies:
Echo Park - Merry Christmas PP and stickers
MissKateCuttables (NOEL die cuts)
Stamp and black embossing supplies
Stickles (on the ornament)
Tiny Letter stickers

Tuesday, December 10, 2013

WRAPPED WITH LOVE

Treasure Box Designs bobble head snowman has got to be my favorite!!!

This one I'm keeping for myself!


Supplies:

My Craft Spot stamp
Leaf Punch
Verve oval die
MME: Christmas Wish 6x6 PP
Ribbon from HL
Glitter Glue

Friday, December 6, 2013

DO NOT OPEN!

I'm a junkie for Treasure Box Designs bear and birdie die cuts! I felt a huge need to upgrade my collection of gift tags for this year.

Also, I have made a special "something" for my sister too, but I'll post those later.

Anyway, I will have several posts this month featuring Christmas gift tags!


Supplies:
Christmas Ribbon from HL
My Craft Spot Stamp
Holly and Berries brad
EP: This & That 6x6 PP

Monday, December 2, 2013

Thank you!

For the past two or three years, a special client at my work place has provided a holiday lunch for our staff members. I personally feel that only a hand made card will do for saying thank you to such a wonderful client and her furry family.

I loosely followed a sketch by MojoMonday.

The reindeer is a "bobble head" from Treasure Box Designs.


Supplies:

Die Cut from TBD
Spellbinder Die
Leaf Punch
My Craft Spot stamp
Echo Park 6x6 - Christmas This & That
Brad (holly leaf and berries)
Small swiss dots embossing folder

Saturday, November 9, 2013

I AM GETTING A BIG BROTHER?

As a parent you worry . . . constantly. Am I making the right decisions? Is my child thriving and happy? etc. etc. Now imagine that child wanting to go to a foreign country for 10 months?!

My husband and I bit our nails and chewed over whether or not to host a foreign exchange student for those 10 months. We believe we are good people with something positive and rewarding to offer any child (actually a teenager) in our home. We worried how our son was going to handle another person in the house. 

It wasn't until after we finalized the paperwork and got approved to host a student that we told our six-year old son the news. His reaction was priceless.

"I am getting a big brother?!!" 

"When is he coming?"

"What's his name?"

"Is he here yet?"

All in the space of 10 seconds, my child rattled off his excitement. He was just so THRILLED with this new found addition.

I have talked a little about Tobias (the big brother) in my previous blog posts. He has been with us for three months now and fits into our family as snug as a glove.

This layout was fun to do and came together very quickly. I used a lot of October Afternoon scraps and followed this sketch from Pinterest.

Thanks for stopping by today!!


I used the arrows and the airplane to point to Germany, the country our student is from.

Supplies:

October Afternoon scraps of paper
Stitching
Thickers
Tiny Letter Stickers
More stickers
Wooden Embellishments - you can find some here
Buttons

Friday, November 1, 2013

No friend Like a Brother

Here is my first layout of my son and exchange student together. Now, I have plenty of photos just not plenty of time to be crafty! This was fun photo to scrap cause these two really are just like true brothers!!

I followed this sketch from Pinterest.

Before making this layout I put on my scrapbook wishlist a whole bunch of doodling templates. I have a feeling I'll want to doodle on most of my future layouts of these two! I am also going to have to increase my stash of "boy" embellishments!!

Thanks for stopping by today!


Supplies:
EP: Notes to Self PP and stickers
Diamond Doodling Template
Camera embellishments
Rub-on

Monday, October 28, 2013

Wish you a Merry Christmas


Gotta love Christmas cards, right? 

Followed a sketch by MojoMonday #316.

Thanks for stopping by today!!

P.S. I didn't really think this needed a long explanation.


Supplies:

Die cut file by Treasure Box Designs
Stamp by My Craft Spot
MME 6x6 Vintage Christmas

Saturday, October 26, 2013

Hello

Hello! Today I would like to share with you a special layout about our foreign exchange student from Germany. Meet Tobias!

He has been with us since August, but I only recently got some photos printed to get started with.

Tobias is not necessarily camera shy, but I do find that taking photos of him while he is actually not looking at the camera seems to capture a more true essence of him.

Scrapbooking about a teenage boy is definitely interesting! With my little boy, I can still put cute bears and bright colors on his lay outs and stay true to his personality. While making this layout about Tobias, I felt I didn't have enough distressing or spray inks. I seem to have misplaced my distressing tool. Boo!

I might be buying more Tim Holtz's products this year.  My sister should appreciate how that makes me giggle with glee!

I followed this sketch by color conspiracy for this layout.

Thanks for stopping by today!


The photograph.
Supplies:

BoBunny: Et Cetera Line
Stitching
Brads
Metal Embellishments
Thicker Letters
Dymo Labeler
Wooden Embellishments
Canvas Tags
Tickets
Ribbon

Thursday, October 24, 2013

Christmas Bird

Yes, expect my next several blog posts to be about Christmas cards. I hope to throw in a layout soon unrelated to Christmas.

I KNOW I followed a sketch by MojoMonday, just not sure which one.


Supplies:

Treasure Box Designs: Bird
MME PP - 6x6 - Christmas
Two-Edge Punch
Spellbinders
Rhinestones

Monday, October 21, 2013

Under the Mistletoe

I am getting a rather late start on my Christmas cards!! I'm completely in love with Treasure Box Designs' new Bobble Head series. PERFECT for cards!!!

I mean, who wouldn't want to meet this super cutie under a mistletoe!??

I used sketch #300 by MojoMonday.

Thanks for stopping by today!!


Supplies:

Treasure Box Designs - Bobble Head Gingerbread Man
My Craft Spot stamp
Spellbinders Label
PP is Teresa Collins 6x6 - NOEL
stitching

Friday, October 18, 2013

Baby Girl

Hello Peeps! Just a quick hello with my newest baby girl card.

Follow sketch #300 by MojoMonday.


Supplies:

Treasure Box Designs - Bobble Head Bear
Buttons
Metal Diecut from MyCraftSpot
Stamp from MyCraftSpot
Doodlebug Design 6x6 Sugar and Spice
Stitching

Saturday, October 12, 2013

HB

Treasure Box Designs

Today I am showing you this card I made for my son's birthday. I followed the newest sketch by MojoMonday #314.

I did put this card together in record time as I already had the bear made. I also used the modern version of saying Happy Birthday!

Thanks for stopping by today!!

Supplies:

Doodlebug Designs - boys only PP
Sticker Letters
Piercing Tool
Treasure Box Design SVG file

Sunday, September 29, 2013

HAPPY HARVEST

It has been a very long while since I have made a LO using mostly die cuts. I ALMOST forgotten how much fun that can be. This LO actually came together quickly - after I got all the pieces cut out and put together how I wanted.

I didn't feel the need to journal on this LO as I felt the pictures speak for themselves.

All the die cuts came from Treasure Box Designs. But I did quite a bit of mixing and matching of several files to get the look I wanted.

I followed this sketch #309 from scrapbook challenges.


Supplies:

BoBunny's Apple Cider Collection
-pattern paper
-stickers
-brads
Treasure Box Design SVG files
Stitching

Monday, September 23, 2013

SEIZE THE DAY (Please use handles provided)

Hello peeps! I know, I've been very busy and really haven't been much around. One of the things I've been so busy with is my new photography website and blog. Please check it out at www.vivianrlakephotography.com

My latest LO is of my son learning to ride his bike without training wheels. If you are a parent, you know what a big deal this is!! Also, as a parent, you can probably relate to what I'm about to reveal.

You see, these pictures have so many meanings. They helped my son realize that Daddy was no longer holding on, that he was riding without help. These pictures not only capture a huge milestone, but also show how big my child has gotten. (Right after he learned to ride, we got him a bigger bike.) But the most profound meaning to these pictures is that they convey the first steps to true independence.  This moment happened in the Spring of 2013. Ever since this day, my son truly began playing and making friends independently of us, his parents.  After a few turns in the neighborhood with one of us, he immediately began exploring riding alone. Crossing the neighborhood street came quickly after. And very closely after that came new friends. So honestly, this LO is a mother's joy and heartbreak as I watch my son grow up oh too quickly.


Supplies:
EP: Scoot PP and stickers
October Afternoon die cuts
Rub-ons from somewhere
BG Brads
Paper Piercer
Wooden bicycle
October Afternoon buttons

Saturday, September 7, 2013

100% Boy

Hey there! Today I would like to share with you my latest LO.  I have been too long away from my beloved hobby and am having a hard time navigating around my scrap room.

To be honest, I didn't really know what title to give this photo. So much is actually going on behind the scenes. The hat my son is wearing was new and he pulled it off so well! I am trying constantly to improve my photography skills and was wanting to get a fabulous shot of my son with his hat. At first, he was being a total goofball and uncooperative.  So I dug down into all the information I've been piling into my head and asked him to talk about his friends at school, which is what he is doing in this photo.

So this LO is actually about many things: my goofy kid with his scrapped knees, his new and awesome hat, and me.

Thanks for stopping by today!

EP Paper - All About a Boy

Stenciling, wooden embellishments, stickers and buttons

From CC - Boys will be Boys. I distressed the blue paper.

Taking a photo of a photo is too hard. Here is
the original photo.

Saturday, August 31, 2013

BABY BUNNY CARD

Thought I was gone forever? Just busy with life!! Finally finished this card I started a couple weeks ago. That's gotta be some kind of record for me - taking that long to finish anything.

The bright side is I also started on some Christmas birdies for Christmas cards - coming soon! (Yes, I gotta get started early on cards!)

Enjoy! Thanks for stopping by!


Supplies:

Freebie Bunny - Treasure Box Designs
My Craft Spot Tiny Stamp
Spellbinders
Pebbles Cloud
EP 6x6 Bundle of Joy PP
Paper Piercer
Button

Tuesday, August 13, 2013

First Day of Kindergarten

Hello Peeps! Sorry I've been away so long. A LOT has been going on and I've been a bit distracted. Can you believe this LO took me two weeks to complete? That's how busy I've been!!

This is a photo of my son on picture day last year - not his actual first day of kindergarten. Two weeks later = same difference right? I was NOT going to buy those horrible school photos so I took my own and I have to say I love the results. Although I'm a photographer who loves eyes, this picture really suits my child's young personality. So in a way, this photo represents many different aspects.

I purposely kept this LO simple. I still love negative space but wanted to make something without a TBD bear.

Thanks for stopping by today!!


Title is from MissKateCuttables

I simply love the little wood embellishments. You can decorate them
but I prefer plain and simple for a boy LO.

Supplies:
EP: Notes to Self PP
EP: Notes to Self stickers
MissKateCuttables: Diecut title
Wood embellishments
Buttons from October Afternoon

Thursday, July 25, 2013

What's Moo?

Happy Birthday Mom!!

Today I would like to share with you a card I made for my mom's birthday. She loves cows!! I used the Tiny Treasure Cow from Treasure Box Designs for this card.

P.S. I know I have MIA for the last couple weeks. Lots of family in town kept me very busy!!!


Supplies:
TBD: Tiny Treasure Cow
EK Punch
My Craft Spot Stamp
MME: Rosy 6x6 PP
Handmade flower

Wednesday, July 3, 2013

Precious Little Baby

TREASURE BOX DESIGNS

Yep, you guessed it . . . another bear card. I LOVE making bears!!!

OH - the flower is handmade by me!!!  I followed Mojo Monday's sketch #254.

Thanks for stopping by today!!!


Supplies:
MME: Follow Your Heart (background paper)
Scrap paper for rest of card
TBD: Freebie Bear
Pearls
Leaf Punches
My Craft Spot Tiny Tags
Handmade flower (by me!)

Sunday, June 30, 2013

COOL DUDE!

Treasure Box Designs


Hey there Peeps!! Today I here to share with you an absolutely fun LO of my nephew!! This is the first time I have used hexagons and I LOVE them!!

The large die cut is Twinkle Tot Sidney from TBD's!! I made it quite a while back with no idea of how I was going to use such a large cut. I think it is a little over 5.5" tall. Most of my cuts are usually 4" or under.

Well, it went perfect with this LO don't ya' think?

I followed this sketch from page maps almost perfectly. Did I tell you how much I love how this turned out!!???

Thanks for stopping by today!!


My sister likes little monsters on her son's LO's. For me, I reached
for the bright colors! This LO is made from nothing but scraps of BoBunny's
AD LIB collection.

A close-up of Twinkle Tot Sidney. He does
come with sunglasses to place on top of hat, but my
Cricut chews up small detailed items.
  
LOOK at that!! I managed to use a Cricut cartridge!!
The title is from Boys will be Boys!

Supplies:

scrap paper from BoBunny's AD LIB collection
white card stock
hole piercer/foam mat
Tim Holt's ruler
TBD's: Twinkle Tot Sidney
CC: Boys will by Boys
SCAL: Hexagons
buttons from stash
Dymo labeler